palmscreen vs. macOS
Screenshots and screen recordings.
macOS vs. palmscreen.
Use the built-in macOS tools for a quick screenshot or a basic recording. Choose palmscreen when you need editable zooms, a camera overlay or tools to redact a screenshot.
14 days, everything included · macOS 15+ · No account
The same take, side by side.
On the left, a plain macOS screen recording. On the right, the same take after palmscreen: zoomed in where you click, with a smooth cursor and a clean background. Drag the handle to compare.
What the built-in tools already do well
Press ⇧⌘3 for the whole screen or ⇧⌘4 to select an area. Press Space after ⇧⌘4 to capture a window. ⇧⌘5 opens the screenshot and recording toolbar, with options for a timer, a microphone and visible clicks.
Apple added recording of a selected window in macOS 26 and an option to include system audio in macOS 27. You can trim a built-in recording from its floating thumbnail.
Feature by feature
| Feature | Built into macOS | palmscreen |
|---|---|---|
| Screenshots | Full screen, area or window. | Full screen, area or window, plus a self-timer and exact pixel sizes. |
| Screen recording | Full screen or area, with microphone. Window recording from macOS 26 and system audio from macOS 27. | A display, a window or an area, with microphone, system audio and camera. |
| Zoom on clicks | No automatic zoom on clicks. | Zooms in automatically where you click, and every zoom stays editable. |
| Cursor | Recorded as it is. Clicks can show as a circle. | Bigger and smoothed, with click effects you can change after recording. |
| Background | None for recordings. Window screenshots get a shadow. | Gradients, a color or your own image, with padding, rounded corners and a shadow. |
| Camera | Not part of the screenshot toolbar. | Recorded alongside as a bubble you can move and resize later. |
| Editing | Trim the start and end. | Cut, zooms, cursor, background and camera stay editable until you export. |
| Annotation | Markup with shapes, text and a pen. | Arrows, text, numbered steps and highlights. |
| Private data | No dedicated tool. | Blur, pixelate or black out names, emails and keys. |
| Long pages | Only what's visible. | Scrolling capture, up to 30,000 px tall. |
| Export | MOV for recordings. PNG for standard screenshots. | Recordings as MP4, ProRes or GIF, up to 4K. |
| Price | Included with macOS. | 14-day free trial. One-time purchase with lifetime updates. |
Where palmscreen does the work for you
Auto-zoom
Viewers see what you clicked.
A full-screen recording on a laptop or phone is mostly tiny text. palmscreen remembers where you click and zooms in smoothly just before each click. Clicks close together merge into one calm movement instead of jumping back and forth.
You don't plan anything while recording. If a zoom isn't quite right, change it afterwards on the timeline.
- Zoom strength from 1.1× to 4×
- Follow the cursor or hold a fixed spot
- Add, move or delete zooms by hand
Background
A finished look without a design tool.
palmscreen lets you set a background, padding, rounded corners and a shadow around a recording. Use the same look for a launch post, a slide or a help article.
Pick a gradient, a single color or your own image, and choose the format: 16:9 for YouTube, 1:1 or 9:16 for social.
- Gradients, colors or your own image
- Aspect ratios from 16:9 to 9:16
- The same backgrounds for screenshots
Redaction
Share screenshots without second thoughts.
A bug report or a support answer can include customer names, email addresses or keys. Check the screenshot for details you need to cover before sharing it.
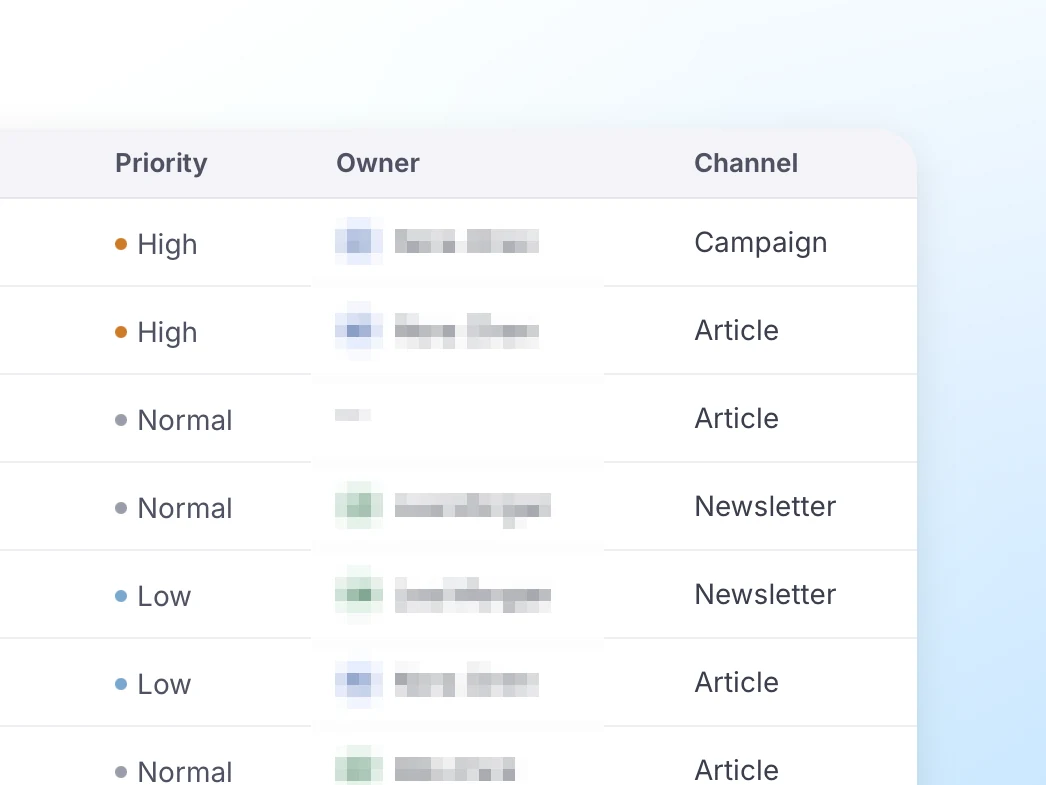
In palmscreen you blur, pixelate or black out those parts right after capturing, then copy or drag the result where it's needed.
- Pixelate
- Blur
- Black out
Editing
Fix it after recording, not by recording again.
You can trim the start and end of a macOS recording. A palmscreen recording is an editable project where you can move zooms, resize the cursor, swap the background or hide the camera.
Keep the project to return to the recording or export another version later.
- Timeline with zoom segments
- Undo and redo
- Export as MP4, ProRes or GIF
When the built-in tools are enough
Use ⇧⌘4 for a quick screenshot or ⇧⌘5 for a clip that only needs a trim. Both tools are included with macOS.
Try palmscreen for a launch video with zooms you can adjust, a GIF for release notes, or a bug report with private details covered.
Questions about switching
Can I keep using ⇧⌘3, ⇧⌘4 and ⇧⌘5?
Yes. You can leave the macOS shortcuts as they are and use palmscreen alongside them, or let palmscreen walk you through handing ⇧⌘3, ⇧⌘4 and ⇧⌘5 over to it.
Can palmscreen edit a recording I made with ⇧⌘5?
No. Auto-zoom and the smooth cursor need the click and cursor data palmscreen saves while recording, so record with palmscreen to get them.
Do I need an account?
No. Download palmscreen, open it and record. The trial runs for 14 days with everything included.
Where are my recordings saved?
On your Mac. Recording projects are stored in your Movies folder, and palmscreen doesn't upload them anywhere.
Which macOS version do I need?
macOS 15 or later. The app itself is in English.